
How to use digital image masking for better design
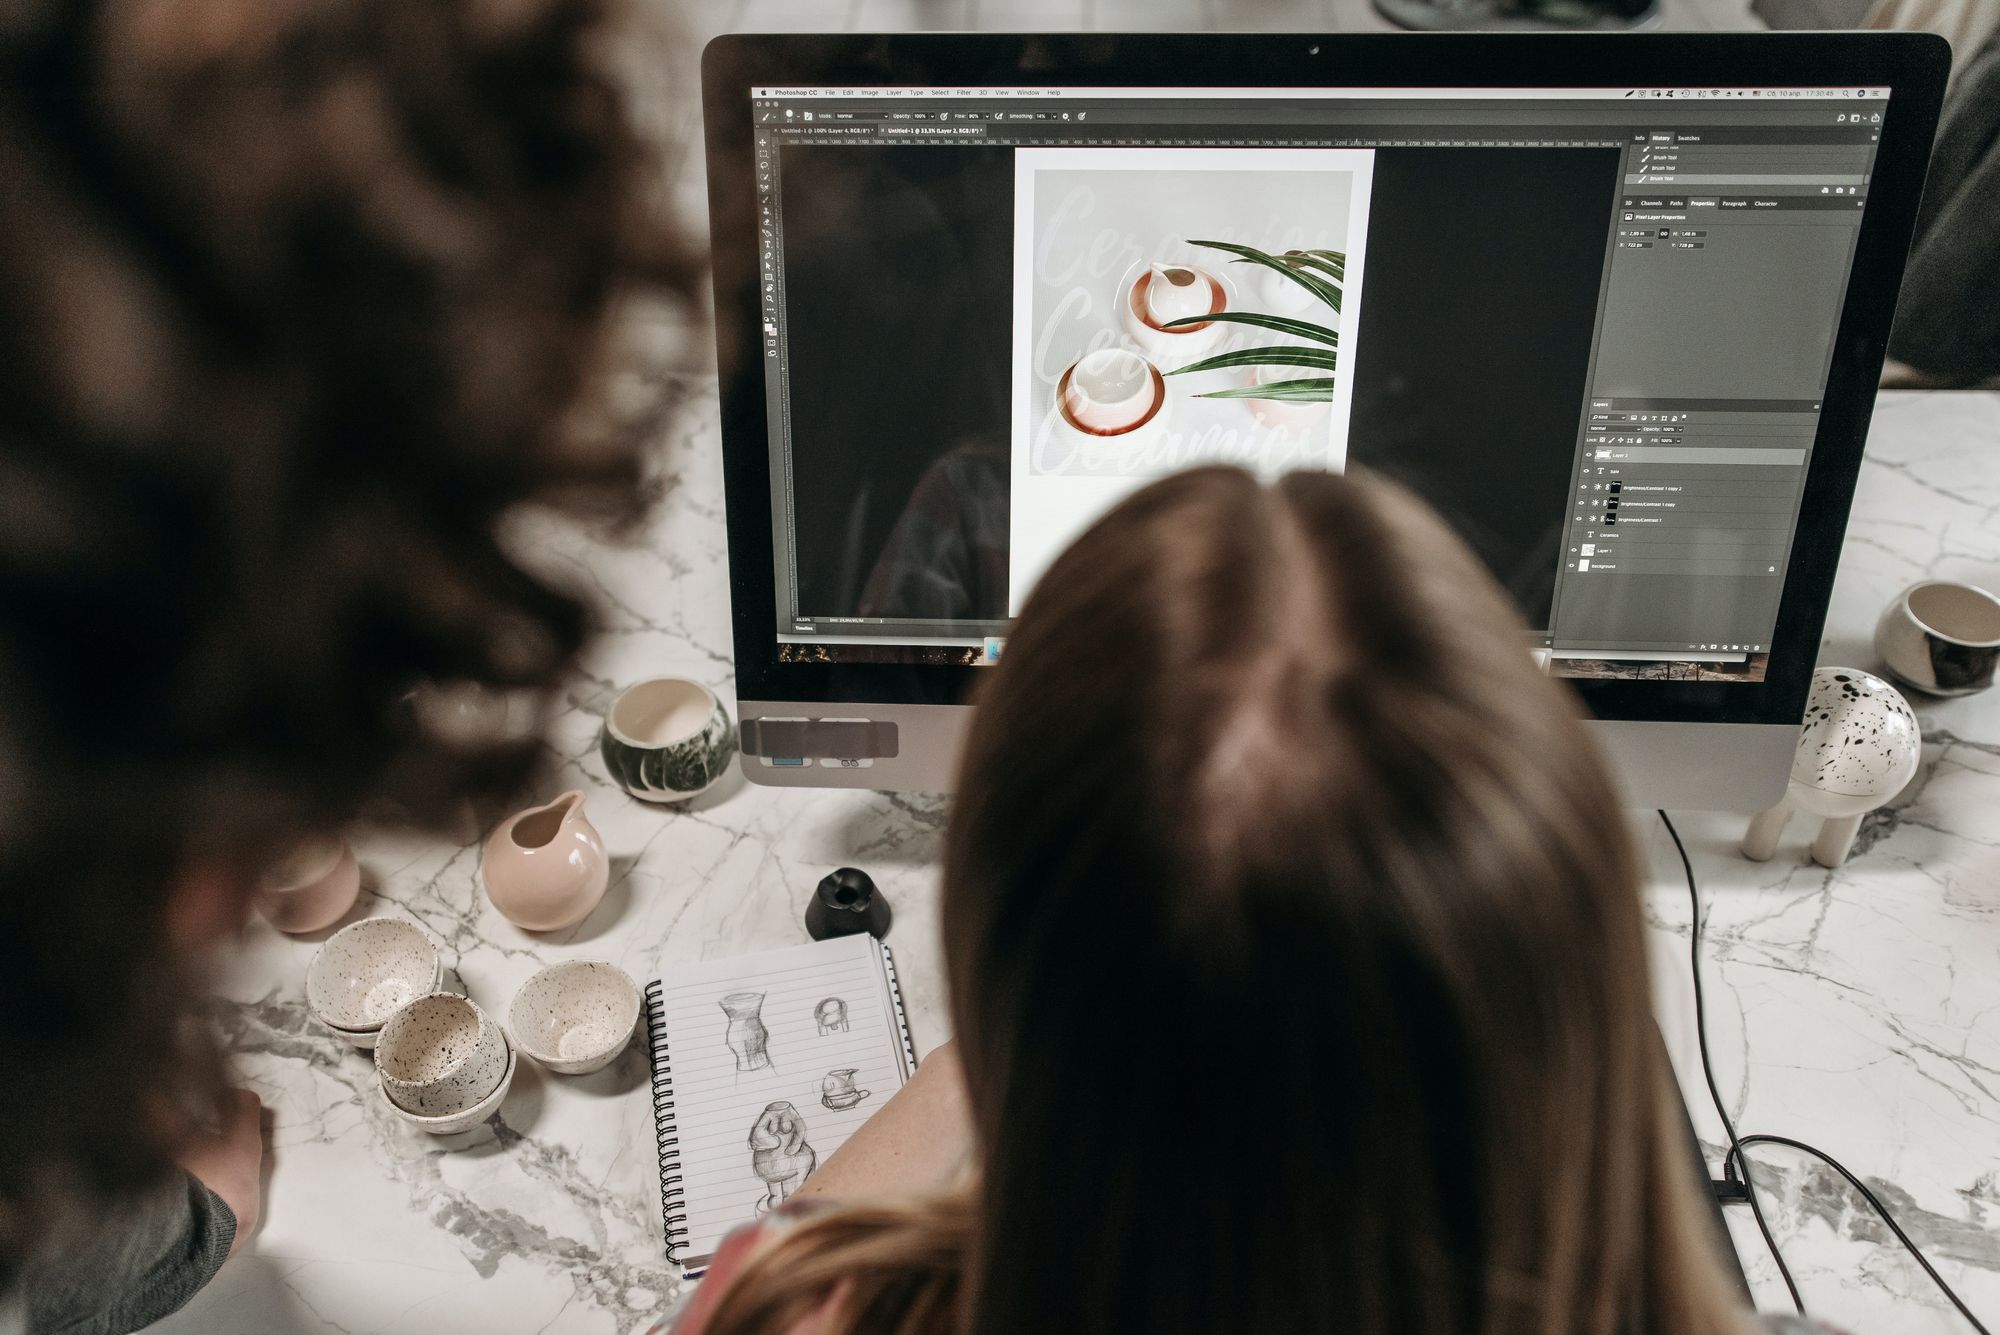
Masks are enigmatic because they conceal and reveal certain parts of a face. The concept is the same with digital image masks: they hide and show parts of an image, which makes it more interesting to look at.
Masks are enigmatic because they conceal and reveal certain parts of a face. The concept is the same with digital image masks: they hide and show parts of an image, which makes it more interesting to look at.
Image masking is a core feature offered by digital image editing software such as Adobe Photoshop, Illustrator, and Linearity Curve (formally Vectornator).
To mask an image or create an image mask means that you overlay the image layer with a detailed grayscale layer or a path that filters what parts of the image get shown.
Sounds a bit complicated, right? Let's break it down.

What's an image mask?
Simply put, an image mask is a filter created with code. The code determines how much and in which areas the image is filtered.
For example, imagine you have a photo with a pane of glass in front of it. The glass has been covered with black paint, and it's not letting through any portion of the image.
That pane of glass is a mask.
Jumpstart your ideas with Linearity Curve
Take your designs to the next level.
Now, you start removing the black paint on certain parts of the glass, and it's letting through some of the image behind. You can choose which parts of the image to show without cutting, painting, or altering the original image.
The glass can be moved freely over the image to change which areas of the image are let through.
You can use that pane of glass with other images, too, and if you want to, you can create another glass pane mask and place that over your masked image.
Pretty cool, huh!?
Here's how it works in digital image masking:
- Numerical values are assigned to the individual pixels of an image
- These pixel values can be read as binary, typically with 0 being black and 1 being white (these are called the binary intensity values)
- The pixel values can also be read as grayscale, with 0 being black and 255 being white
- These pixel values can then be used to set the opacity of the various areas of the mask layer, typically with 0 (black) being opaque and 255 (white) being transparent
- The grayscale pixel intensity values between 0 and 255 indicate various levels of transparency that control what percentage of the original image underneath the mask is shown
In this way, you can use an image mask to manipulate the original image without actually editing the image itself.
The mask and the image also act as one, so you can freely move it around your Artboard and edit it when necessary.
What’s the difference between image masking and clipping?
Standard image masking (or layer masking) lets you create a dynamic mask image over the photo or design you're editing. It's like scratching into that black paint on the pane of glass.
Image clipping is a form of masking that uses a vector shape to hide parts of the image. Every part of the image that falls outside the vector shape is not shown, and the vector shape can be edited at any time. This is more like putting the image in a custom frame.
Read on to get an in-depth understanding of what image masks are used for and the different types of image masking.
What are image masks used for? (with examples)
The real magic of image masking is that it enables you to create absolutely anything you can imagine.
A sunset in space, the Eiffel Tower in the desert, mermaids having a tea party – your only limit is your imagination and the image editing tools you have available.

Designing with image masks is non-destructive, meaning the original image is preserved, and you don't lose a single pixel.
With image masks, you have more control over hiding and showing certain parts of the image and can use various tools and effects.
Below are some of the most popular ways image masks are used in graphic design.
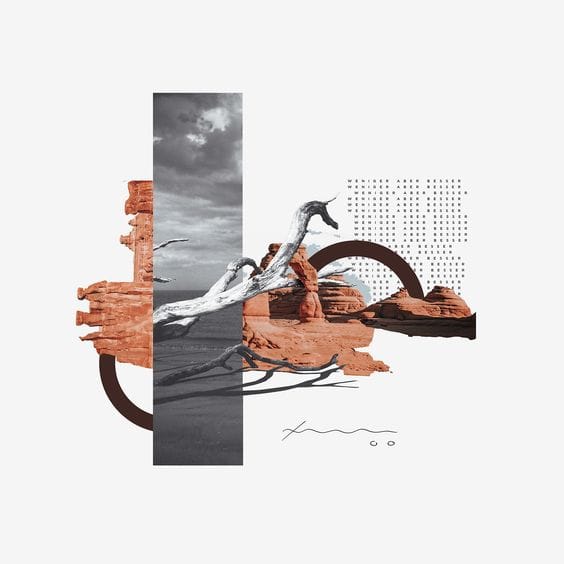
Creating custom frames
A standard image has a rectangular shape. You can make images more interesting by using any custom shape you wish to non-destructively crop them.
Custom framing is particularly useful for creative marketing designs, combining images with illustrations.
Check out the example below, where the artist used an interesting curved vector shape to crop out a photo of a person's face.

They also cropped a few other interesting photos and combined these images with vector shapes while adding a few minimal drop shadow and glow effects.
Background removal
Image masking lets you remove the background from images with a wide array of tools to get it right.
Background removal is great for several reasons.
It lets you clean up a busy background without having to re-shoot the entire scene, and it also enables you to extract interesting subjects from photos to use in other designs.
This also removes the need for hiring a professional photography studio or lightbox – with today's image editing software, you could get away with a quick snapshot taken on your phone that you enhance with post-processing.
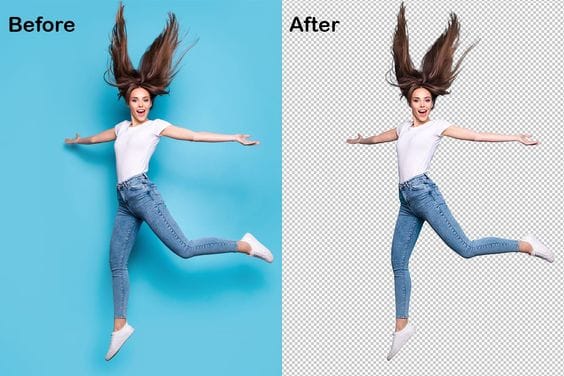
This process also lets you create images with transparent backgrounds, which you can export in image file types that allow transparency, such as PNG and SVG.
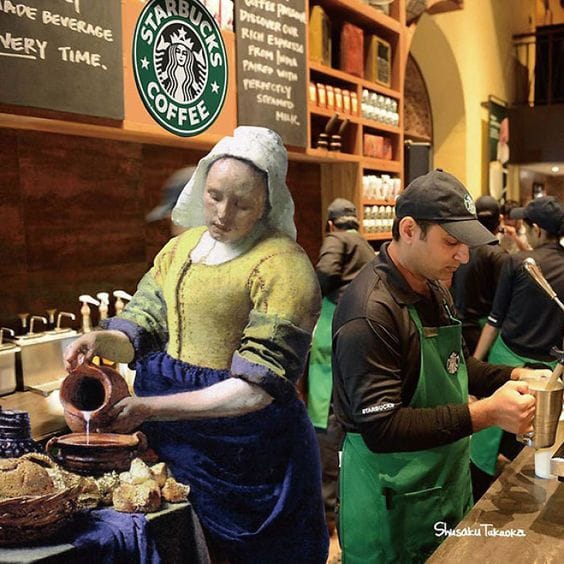
For example, you can remove the background of a classical painting and give it a contemporary application, such as producing cool merchandise.
Background removal is essential for creating good-looking product catalogs because you can arrange the products in relation to each other on a layout design.
This creates a uniform look that's pleasing to the eye, as opposed to a grid of rectangular or square photos on the page.
Another great way to use background removal is when you want to create a vector from a photo using Auto Trace.
Removing the image element's background eliminates the need for extra editing once Auto Trace has been completed.
Look at the beautiful plant decal below. Whereas you could draw and close all the paths yourself, you can use a found photo, remove the background, and then rely on Auto Trace to do the heavy lifting.
Get in Touch
BANGLADESH

House 14, Block B, Banasree Main Road Dhaka 1219, Bangladesh

(+88) 019 24 482 868

[email protected]
AUSTRALIA
House 14, Block B, Banasree Main Road Dhaka 1219, Bangladesh
(+88) 019 24 482 868
[email protected]
© 2021-2022 This site is owned and operated by BLACKFOX LIMITED. All Rights Reserved.


